3 months. 8 ledger books. 2 sets of printed facsimiles. 4,532 printed pages. 6,950 digital files.
Written by Associate Collections Photographers Harrison Walker and Sami Wright, 2023
Over the span of three months, NEDCC’s Imaging Services department and Book Conservation Lab worked together to conserve, digitize, and produce 16 facsimiles of eight ledger books. Using this project as a case study, NEDCC collections photographers Harrison Walker and Sami Wright share some of the successes and hurdles encountered while working through this large volume of material, with particular attention to deviations in image capture and processing workflows when producing bound facsimiles.
Project Scope
Timeline
Incorporating Conservation Treatment into Image Capture
Choosing the Right Workstation
Post-Processing the Images
Printing Facsimiles
Reproducing Covers
Quality Control
Conclusion
 |
 |
Project Scope
Tampa Hillsborough County Public Library is home to over 20,000 nitrate and acetate negatives from the Burgert Brothers Commercial Photography Studio. The Studio created an extensive photographic record of the Tampa Bay community throughout the 20th century, chronicling a history of local celebrations, natural disasters, wars, and economic waves. The Library also has 14 ledger books that serve as an index to the photographic material, detailing the customer, subject matter, and negative number for each photograph.
Beyond the conservation and digitization of the original 14 record books, the objective of this ledger project was to create usable facsimiles of each volume for researchers to access the information without risking further damage to the original materials. To this end, NEDCC’s main focus was to create high-quality physical surrogates that would both be representative of the original objects and also hold up to continued use over time.
Timeline
A project of this scope was initially planned over a two-year timeline. The first set of six ledger books began smoothly in 2019, however, logistical challenges due to COVID closures and restrictions required consolidating the last eight ledgers into a timeline of three months. This required re-evaluation and adaptation of existing workflows so that the work could proceed efficiently while maintaining the highest quality that was consistent with the previously completed work.
Incorporating Conservation Treatment into Image Capture
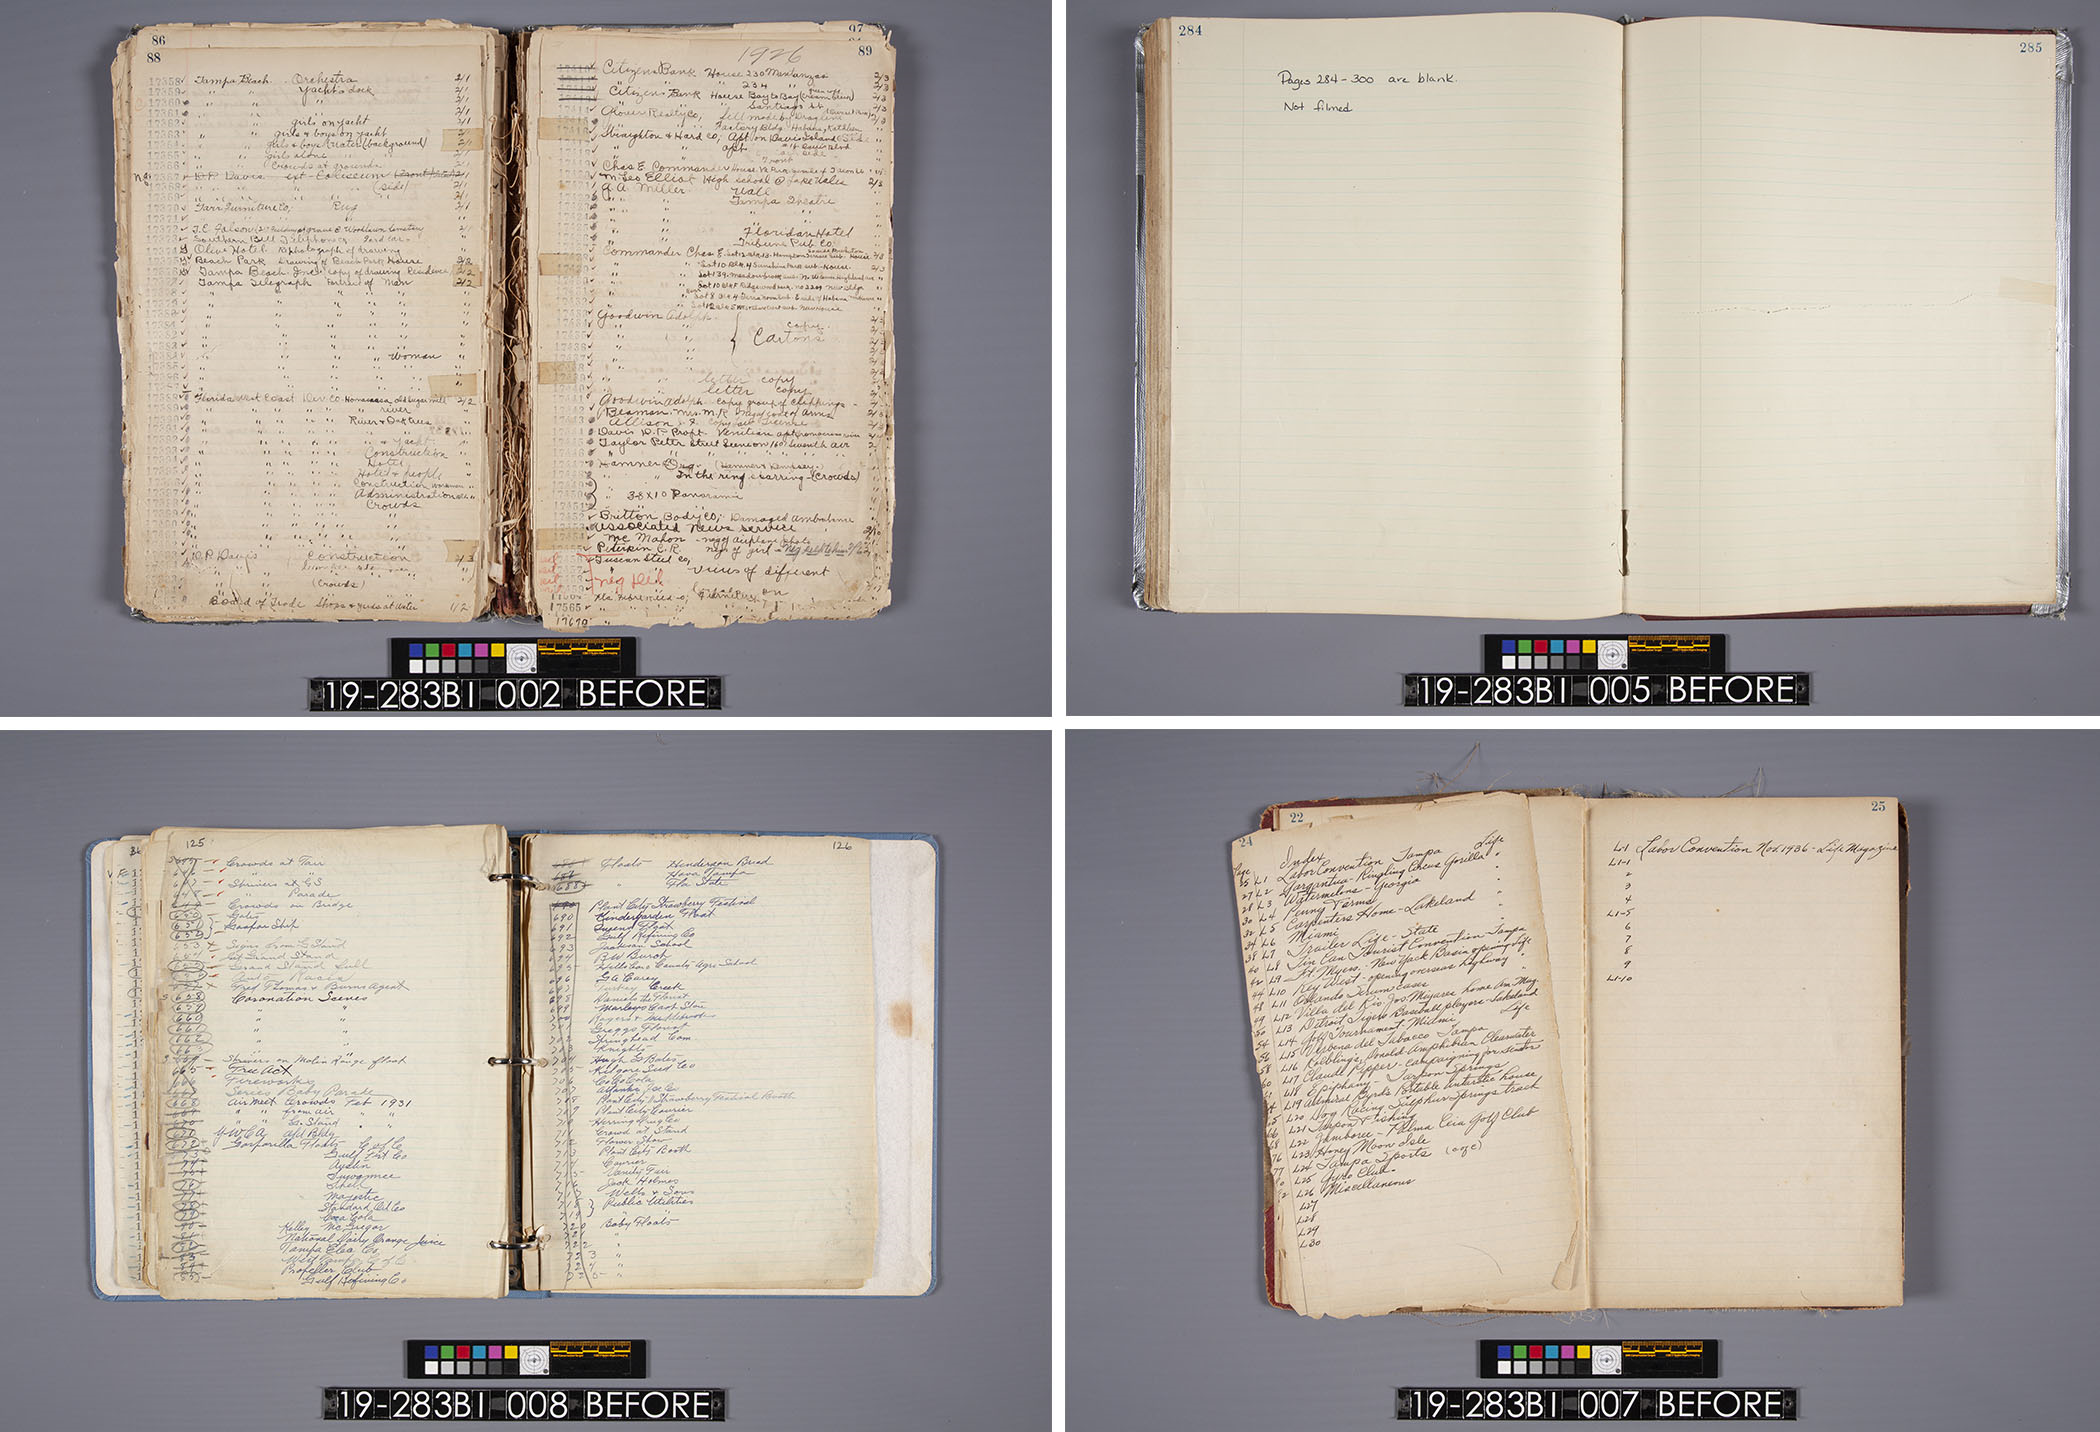 The ledgers first received treatment by NEDCC Book Conservation Technician Ned Schultz. Conservation treatment at NEDCC is based on the specific condition of each volume and balancing the goals of preserving the original format while ensuring the volumes are functional and the text accessible. This meant that it made sense for some of the ledgers to be completely disbound during treatment, while others could remain sewn together.
So even though fully disbinding every ledger would have made digitization much easier for collections photographers, the ethics of conservation dictated that the ledgers receive only as much treatment as necessary. Because of this, the ledgers arrived in the Imaging Services Lab in varied physical states, requiring a number of adaptations in the imaging workflow. The collection photographers were able to eliminate some significant variables by digitizing all of the ledgers on a single workstation.
Choosing the Right Workstation
One station was an obvious choice for the ledger project: a 180-degree book cradle. This style of cradle could capture the still-bound materials with minimal deviation in the optical resolution by bringing the book’s pages against a piece of glass that remained at a single focal point. The cradle does this by supporting the book on separate height-adjustable platens that accommodate the left and right sides of the book at the same time, even as the thickness continually increases (left) and decreases (right) during digitization. The cradle worked just as well for the fully disbound volumes, as the platens can raise fully flush to the piece of glass and keep the loose leaves flat and un-distorted during image capture.
Another advantage of imaging all of the volumes on this one workstation was the consistency in color and tone from image-to-image, ledger-to-ledger by using a single camera. If the ledgers had been captured using different cameras, even in NEDCC’s tightly color-managed workflow, subtle differences in color could result in the printed output and require fine tuning for each camera used.
Another challenge with printing double-sided facsimiles is the alignment of the recto (front) and verso (back) images during the printing process. Slight variations in resolution combined with the subtle variability in position when feeding paper through the printer can cause misregistration when trying to align two printed images on the front and back of a single sheet. And then trimming flush to the printed edge on one side will result in errors on the opposite side.  As a solution, the photographers thought ahead and introduced a solution in the image capture process.
For each ledger, a representative blank page was digitized. Attention was paid to accurately reproducing both the paper texture and color, achieved through iterative color-matching via printed samples. Once fully color matched, the image of the neutral blank page was enlarged and a final copy was printed. The printed page was placed immediately behind each ledger page during capture, also known as interleaving. This backing page, so closely matching the original objects, created a built-in margin around each page, effectively extending the page. Then, if there were any slight misalignments in the printed images, trimming the pages would not result in noticeable white margins, but instead, a page-tone margin that was virtually imperceptible.
Post-Processing the Images
 For typical digital imaging projects, a critical step in the post-image capture workflow is rectifying the rotation and position of the digitized pages. But with the added requirement of printing those pages back-to-back on a single sheet of paper, then trimming them near-flush to the page edge, the project required even more attention to skewing and positioning. To achieve this degree of exactitude, the photographers used guides in Capture One to essentially define the printed page both in terms of position and alignment, and applied these guides to every page captured from a given ledger. The photographers then applied micro-adjustments to image rotation and position to bring each page within the parameters defined by the guides. Once the crop window was straight and the guides were in place using Capture One, these dimensions were applied to the rest of the ledger pages.

However, because each volume arrived to Imaging in different states, each individual capture of the pages still required manual adjustments for alignment and conformance to the crop window. For example, some of the bound materials had a slight curvature near the gutter, and page losses were visible in some of the disbound materials. As a final check of the overall page alignment, two-page spreads were viewed side by side in Capture One and examined under magnification to confirm that the alignment of the top edge and ruled lines were as consistent as possible from one page to the next.
During the second stage of post-processing, Photoshop was used for additional manual editing to produce the cleanest images and prints. For example, as a consequence of interleaving behind the pages of the bound material, there was a visible gap along the top and bottom edges at the gutter. This was addressed in Photoshop to restore the edge of the page. As for the gutter of bound materials, Photoshop was used to create a neutral gutter for binding purposes.
Printing Facsimiles
 Achieving the color and tonal accuracy of the original object is the main objective in printing. While one photographer continued to capture and process files, the other began printing the facsimile pages using an Epson SureColor P900 printer. Mohawk Superfine SoftWhite paper was recommended by the Book Lab as a paper that best mimicked the original paper of the ledger books, both physically and visually.
Fine-grained color editing was necessary to achieve consistent accuracy, given the variations between and even within ledgers. For example, many of the ledger books had been heavily used, resulting in visually significant changes in page color from one section of the book to the next. Further, the presence of a variety of pen types and colors, as well as other utensils like pencils and stamps, caused subtle but significant differences in something as simple as blue ink. To overcome the color variation within each ledger, Walker and Wright further refined nuances in Photoshop.
Once the photographers achieved color and tonal accuracy, additional test prints were generated to refine the resolution. They began by printing files at the exact resolution measured during capture, for example, 604 pixels-per-inch. If the resulting prints varied in size from the original when trimmed and placed directly on top of the original, then they made slight adjustments to the output resolution until the print size matched the original as much as possible.

With both appearance and scale matched to the original, samples were submitted to NEDCC Book Conservation Technician Ned Schultz for evaluation with his needs in mind. After receiving final approval, they finalized the print settings for the ledger. To do so, they ran all files from a ledger through a Photoshop batch action specific to that ledger that applied the volume-specific color and resolution adjustments. Using software utilities, the image files were divided into dedicated folders for the left and right sides, which increased printing efficiency since all pages had to be fed manually when printing the versos. As seen in an earlier photo, accuracy in color and page alignment was checked with each print as it was generated.
Page size ranged from approximately 10 x 14 to 11 x 17 inches and took between two to three minutes to print each image, which significantly impacted their timeline. To produce all 16 sets of prints, two printer stations were set up for a two-week period to print two copies per ledger for eight ledgers and allow time for the conservator to bind them.
Reproducing Covers
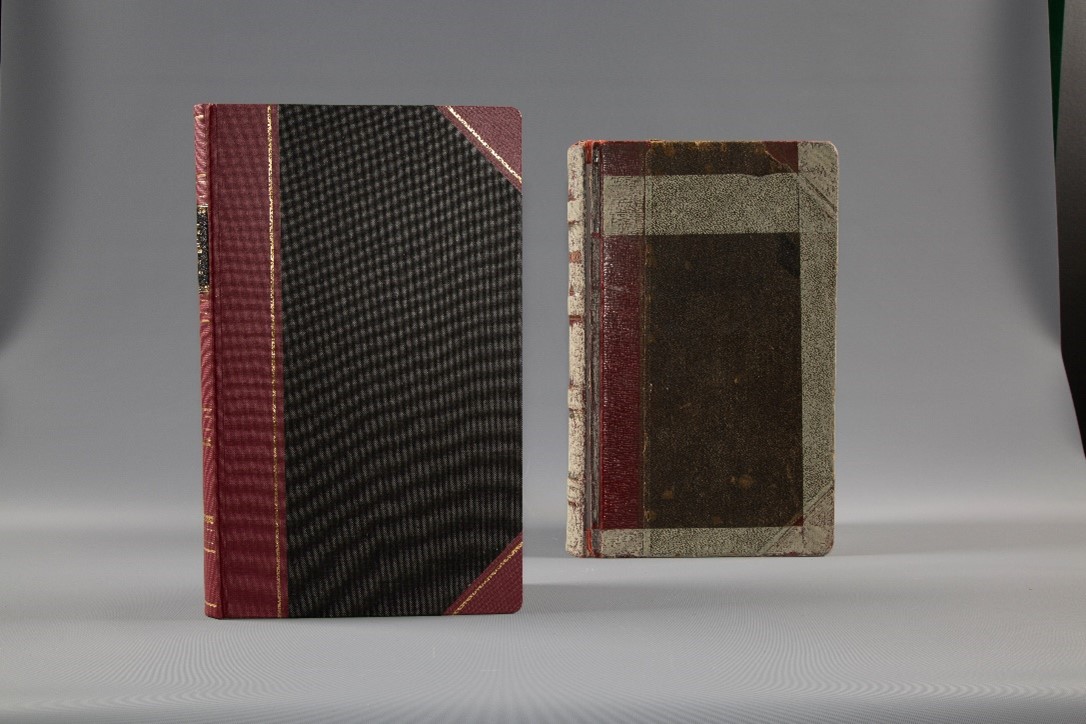
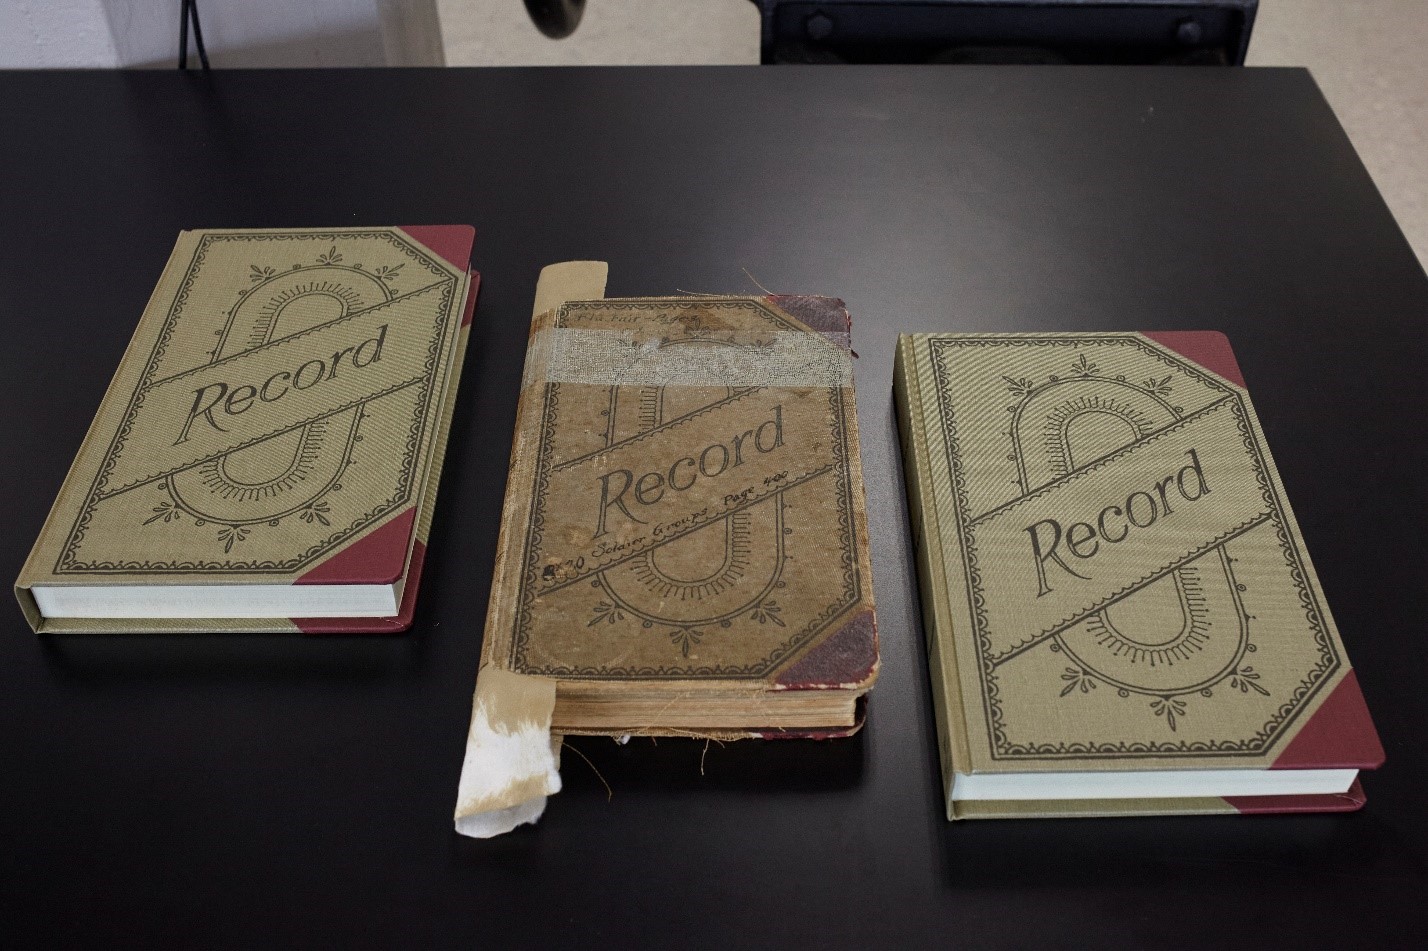
While the majority of Walker and Wrights’ time, energy, and creative problem-solving were directed toward accurately reproducing the text block, they identified an opportunity to bring these efforts to some of the bindings themselves. A number of the original ledger’s cloth covers featured stylized printing that would otherwise not translate to the facsimiles. Walker and Wright consulted with Schultz regarding the possibility of reproducing that printing on the new covers. To achieve this, the covers (front, back, and spine) were imaged and digitally restored in Photoshop. The isolated design was then printed onto buckram book cloth for use when binding the ledgers. The conservator applied a spray fixative sealant after the ink was cured for several days to ensure that the ink would hold up to regular use without fading.
Quality Control
 Consistency and efficiency were extremely important for Walker and Wright to meet the project deadline and produce high-quality facsimiles. To ensure they met these standards, quality control was conducted at each stage. After each ledger was captured, the other photographer would review each image file ensuring that there was no missing content; that pages were consistent in tone and color; that alignment was accurate and consistent; and that the filenames were correct. Then they began prepping the files for print. During the printing process, each page was checked for alignment of the recto and verso; that pages were consistent in color and tone; and that there were no artifacts or blemishes produced during the print process.
Although they did an initial quality assurance of the digital assets prior to printing and reviewed each print as it was generated, one final quality control pass was performed after each ledger was completely printed. Working closely with the conservator, they were able to ensure that each ledger was not missing content and that the prints produced would align with the expectations of the conservator undertaking the binding process. Layering in multiple stages of quality control allowed them to more easily and quickly identify if and when something was off or inconsistent. This also facilitated an efficient and effective workflow, helping them to meet the deadline.
Conclusion
NEDCC’s project with the Tampa-Hillsborough County Public Library posed a unique challenge, to produce a relatively large number of bound facsimiles mirroring the function and appearance of the originals, which themselves varied widely in condition and state. This required Walker and Wright to near-fully reinvent their approach to imaging the materials and then to continue adjusting that approach based on the individual volumes themselves. By remaining adaptable and working closely with the Book Lab throughout the project, they were able to deliver completed prints on a rolling basis, allowing all stages of the workflow to occur concurrently. As a result, the complex and demanding project was completed successfully within the LIbrary’s three-month timeline.
Summarized from the original article Digitizing and Printing the Burgert Brothers Ledger Books: A Case Study in High-Volume Facsimile Production published June 2022.